Teaching Slides Design (3): Background Removal Made Easy — PowerPoint Tips to Instantly Upgrade Your Slides
The background removal chapter of the Teaching Slides Design series. Learn how to remove image backgrounds using PowerPoint — a tool almost everyone already has — and instantly elevate the quality of your teaching slides.
This post covers background removal — using PowerPoint, which nearly everyone already has, to remove image backgrounds and instantly upgrade your slides. It also sets up the next post in the series, where I’ll introduce some of my go-to free image resources.
For all online teaching resources, visit the Online Teaching Resource Hub — interactive PowerPoints, Google tools, and more.
About Background Removal
For a general introduction to the Teaching Slides Design series, see the first post: Teaching Slides Design (1): Information + Design = a Beautiful, Content-Rich Gift
We’ve already covered some basic design concepts for teaching slides. Today’s topic — background removal — isn’t exclusively a teaching tool, but since I’ll be introducing image resources in an upcoming post, I wanted to cover this as a lead-in first.
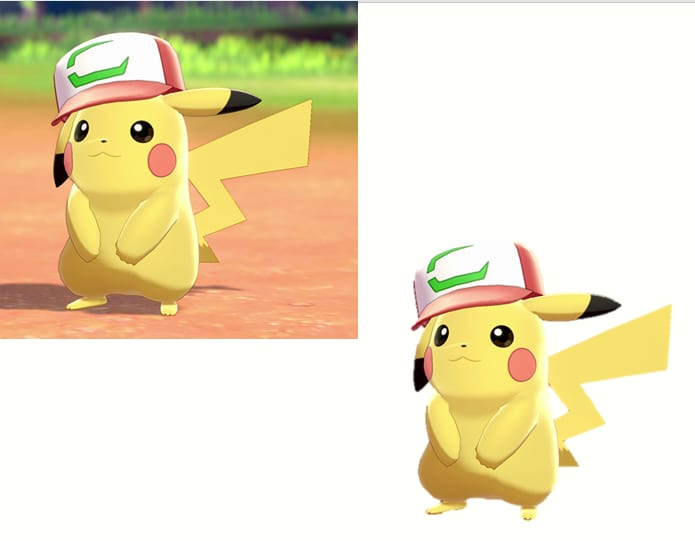
Let me show you two images, both from a Whack-a-Mole activity I made. The first is the original image as downloaded; the second is after background removal. What do you think?
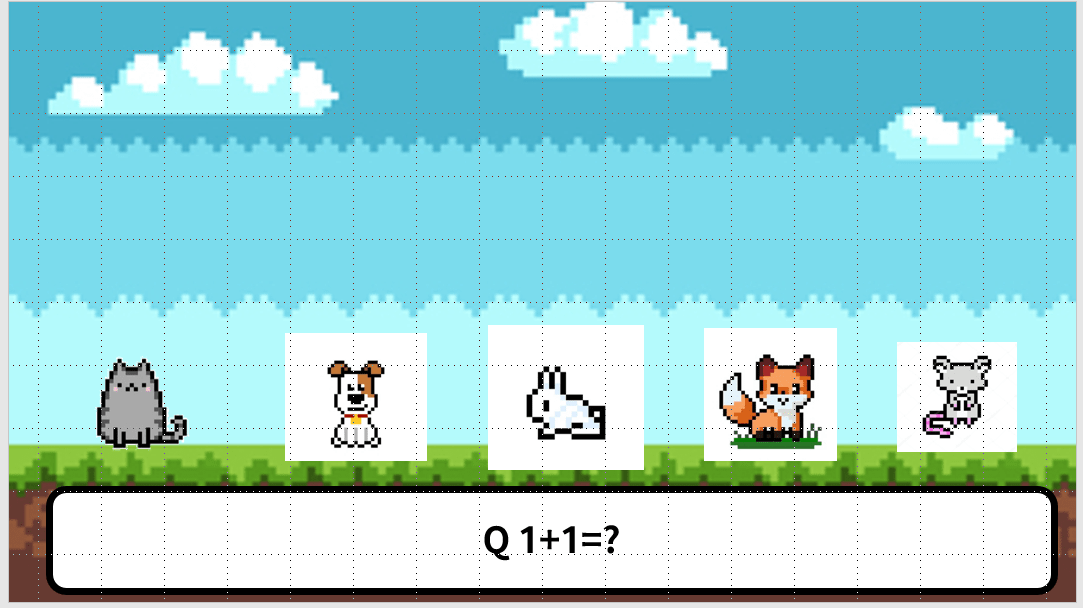
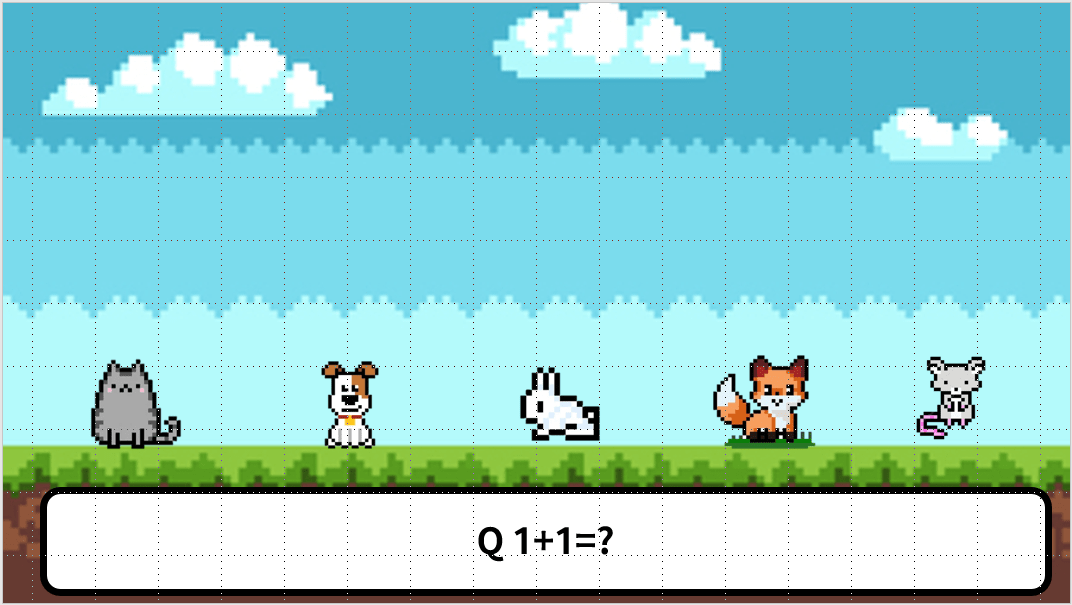
Without background removal, the white fills around each image draw the eye in all the wrong ways and make each element feel awkward and out of place. But once the backgrounds are removed, everything blends naturally with the slide — the whole composition feels much more cohesive.
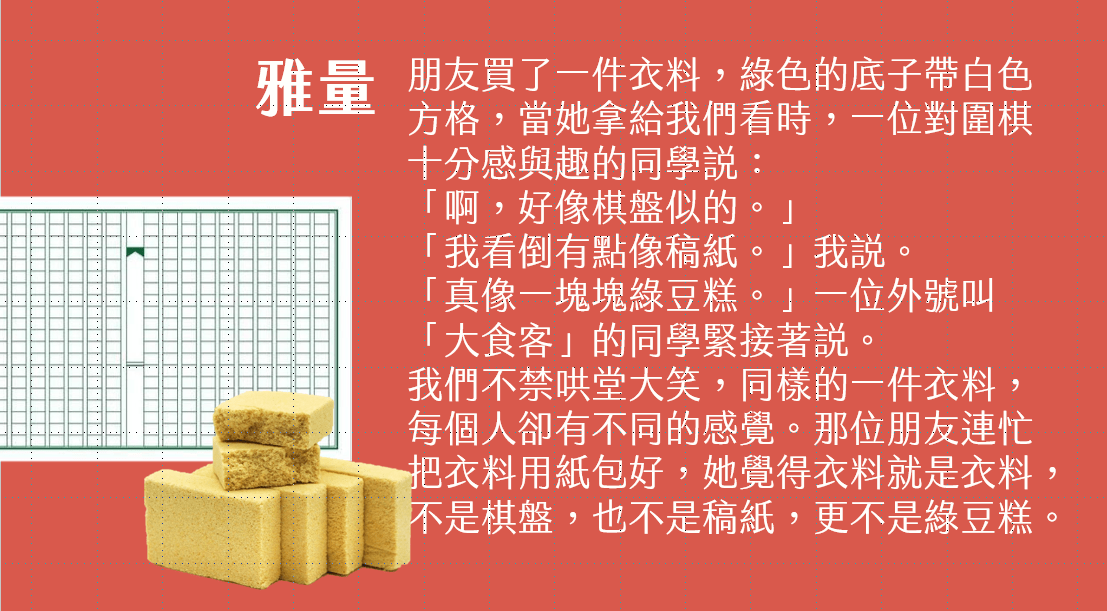
Here’s another common scenario: you’ve built a nice-looking teaching slide, used a beautiful font, but something’s still off…
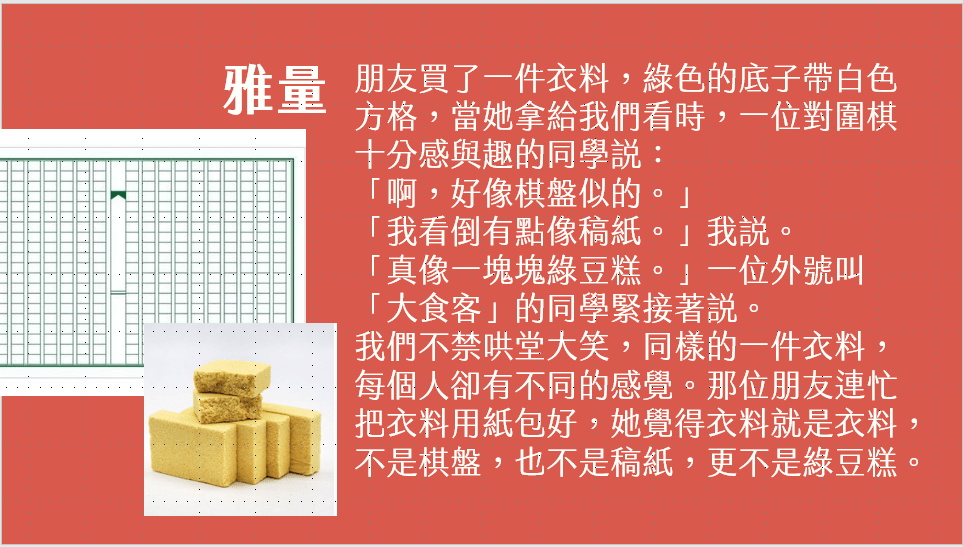
Remove the backgrounds, and it’s a completely different story XD
You can even use PowerPoint’s background removal to create ID-style photo cutouts — pretty handy, right? I found that quite a few teachers didn’t realize PowerPoint could do this at all, so here’s a quick guide. Of course, for more precise work you’d want a dedicated tool — what I’m showing here is the simpler, everyday version.
Images That Are Already Background-Free — .png Files
Plenty of images online already have their backgrounds removed. When you hover over one, you’ll typically see a gray-and-white checkerboard pattern behind it — and if you download it, it’ll come as a .png file, which means the background is already transparent. For these, simply download first and then insert the image into your slide. It’ll appear perfectly cut out with zero extra work. Super convenient!
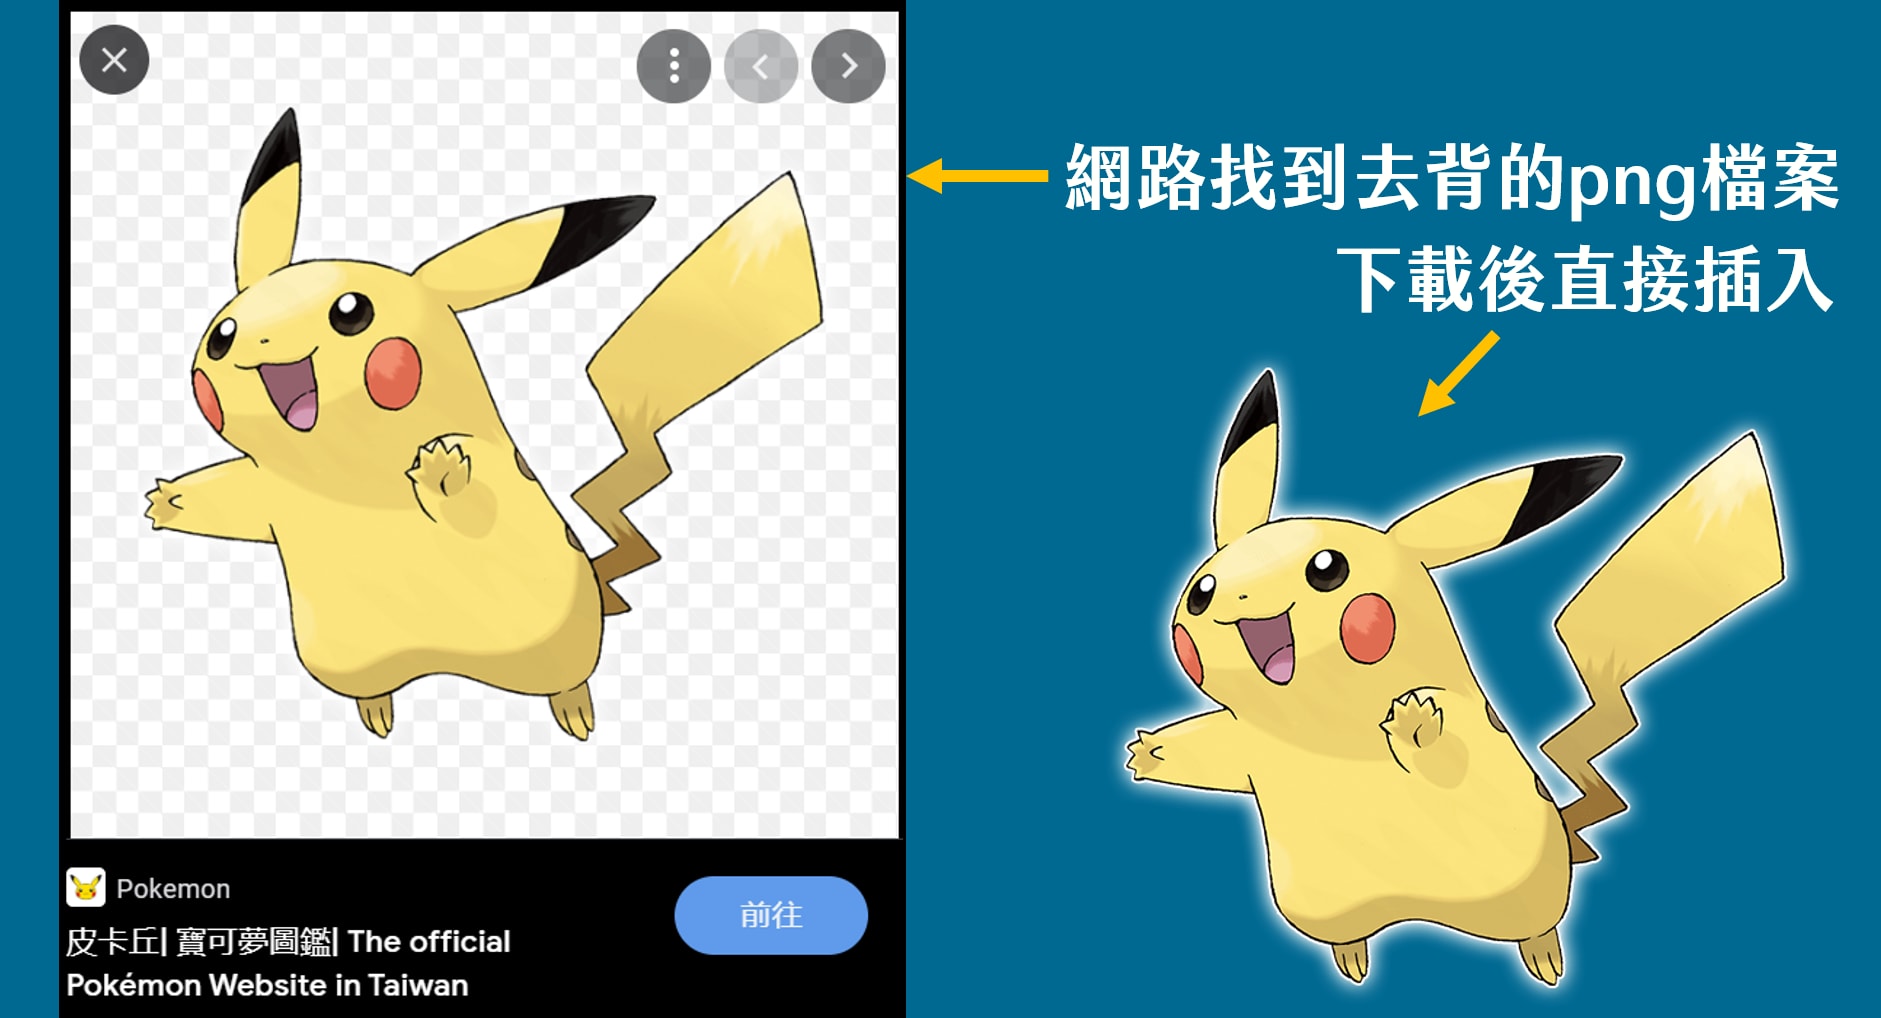
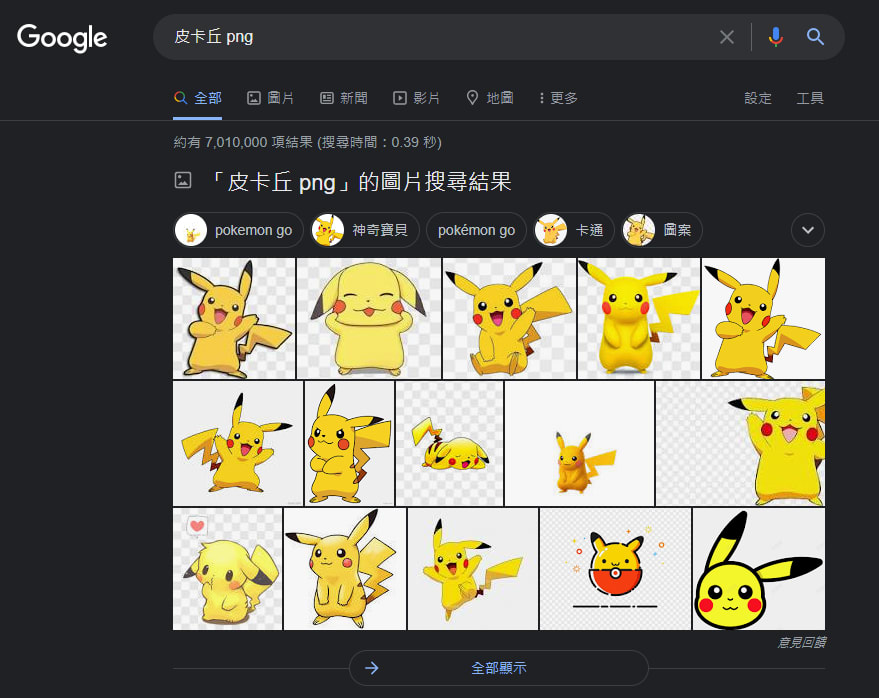
My usual approach is to Google “Pikachu PNG” — results like that almost always give me what I need XD If that doesn’t work out, read on for the manual methods.
Background Removal in PowerPoint
When PowerPoint Background Removal Works Well
PowerPoint’s background removal is convenient, but I’d avoid it in these situations:
- The background is complex
- The subject has a lot of fine edges (like fur)
- The image is too small or low-resolution
Complex backgrounds and fluffy edges are genuinely difficult to handle cleanly, and results are often hit-or-miss. Here are two methods, depending on how complex the background is:
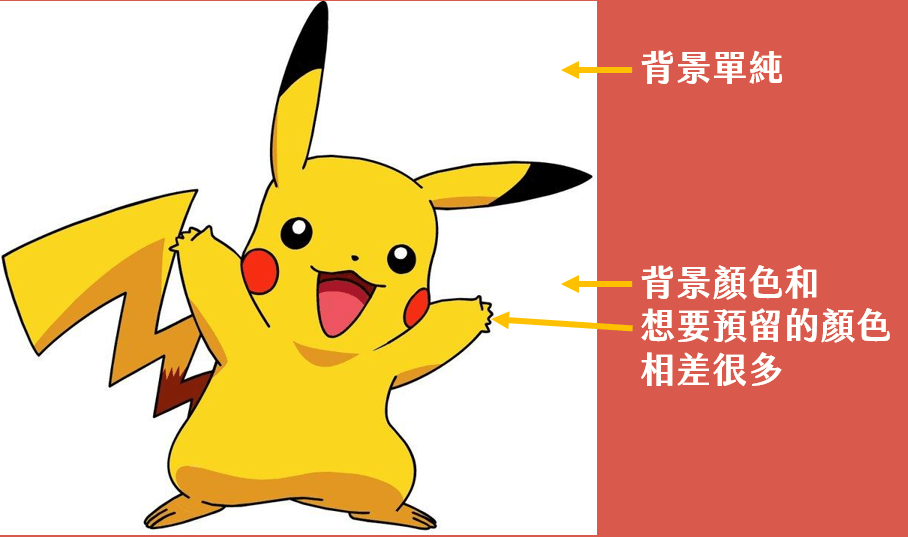
Method 1: Set Transparent Color
This works well when: the background is a single, solid color and that color is clearly distinct from the subject you want to keep. I’ll use Pikachu as an example.
If your image meets those conditions, click on it and follow these five steps:
- Click on the image
- Go to Picture Tools → Format
- Click Color
- Select Set Transparent Color
- Click on the background color in the image
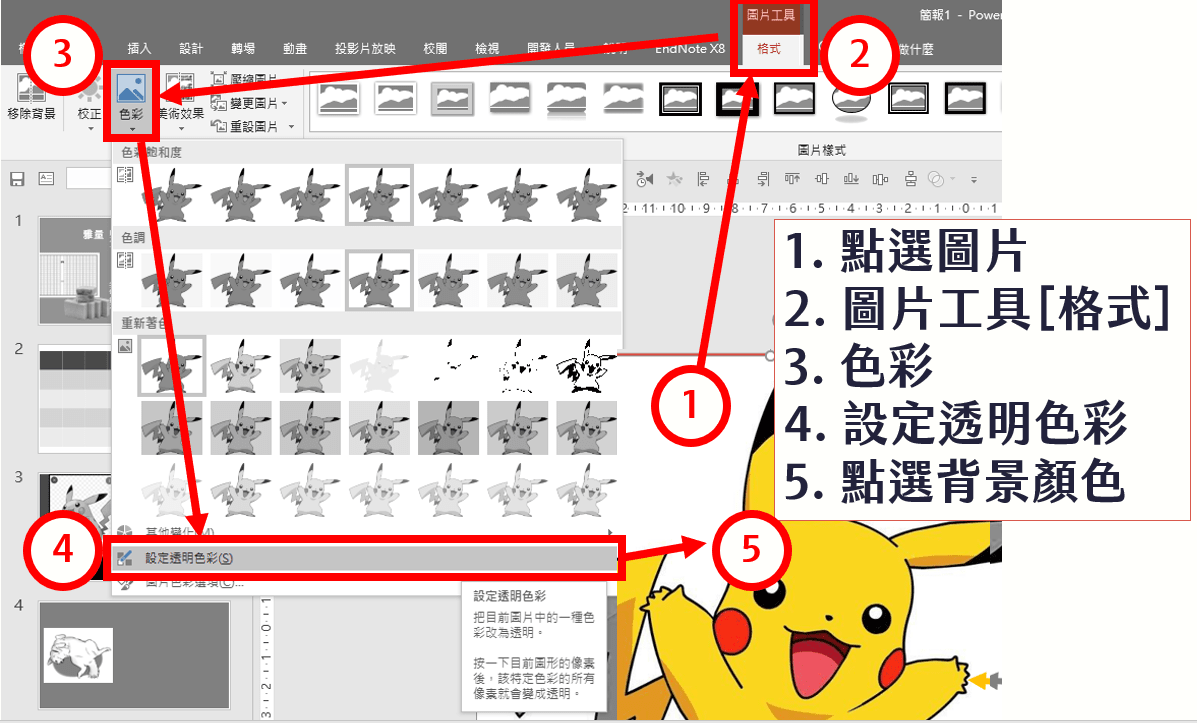
That’s it — as simple as it gets!
Method 2: Remove Background
But sometimes even a simple-looking background doesn’t respond well to Method 1. Why? Let me use Lottery’s LINE sticker set to explain XD Remember: Method 1 requires both conditions — solid background and a clear color difference between background and subject. If the second condition isn’t met, you’ll end up with something like this:
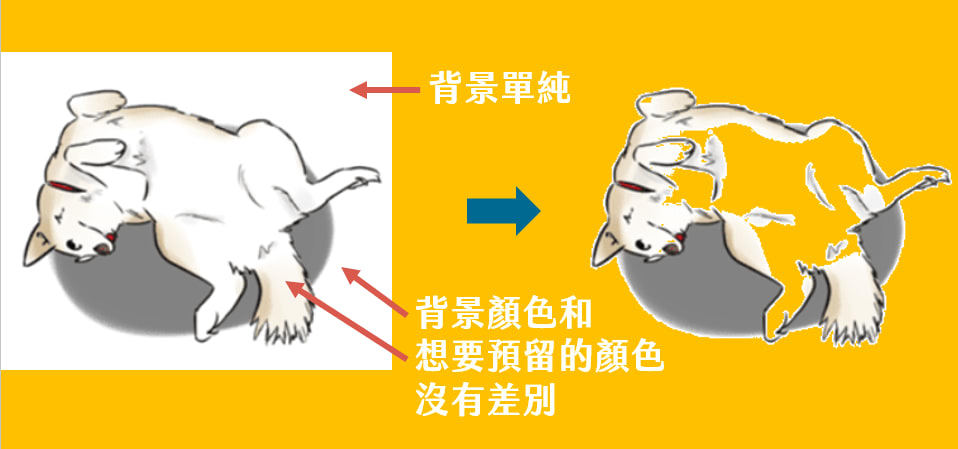
That happened because “Set Transparent Color” treats an entire color as transparent — so it wiped out not just the white background but also all the white in Lottery’s fur.
The solution: use Remove Background instead.
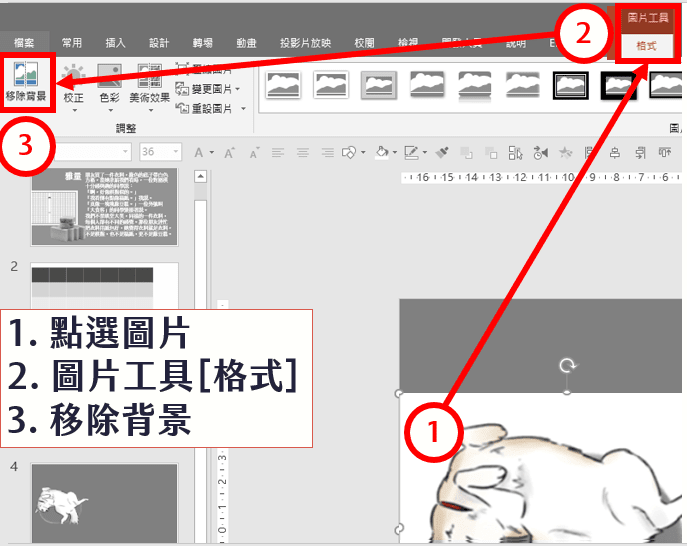
- Click on the image
- Go to Picture Tools → Format
- Click Remove Background
After clicking, the image will look something like this:
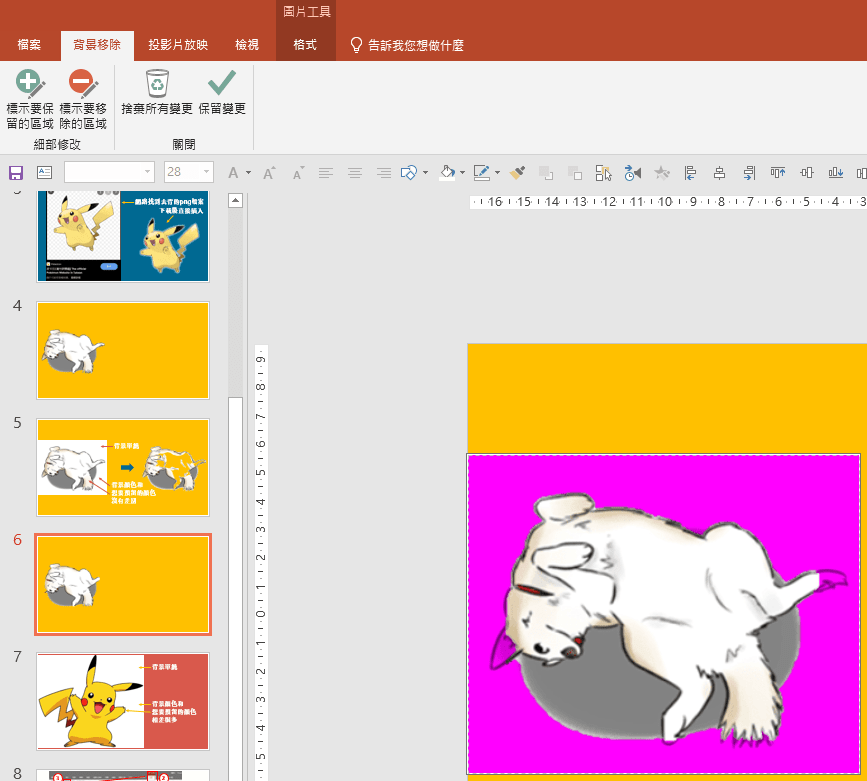
You’re on the right track! The pink/purple areas will become transparent; everything else will be kept. The initial result usually isn’t perfect, but you can refine it. In the Background Removal toolbar, you’ll see Mark Areas to Keep and Mark Areas to Remove. Click the former, then draw or click over areas you want to preserve — they’ll be added back. Do the same in reverse to remove unwanted areas. Sometimes clicking one area will cause other parts to turn pink unexpectedly — don’t panic, just keep going through a few more iterations and it’ll sort out.
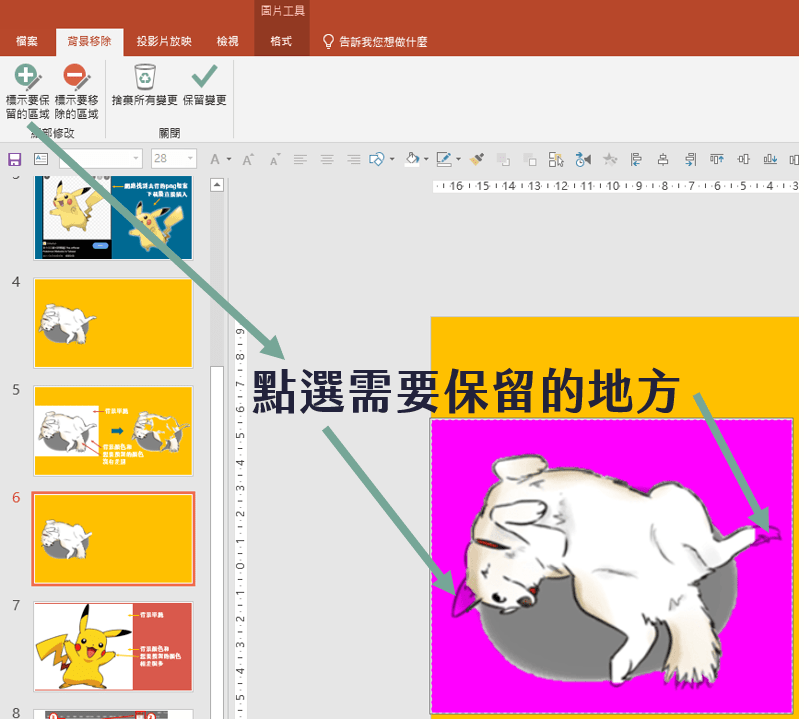
When you’re happy with the result, click Keep Changes and you’re done! That said, with a subject like Lottery’s sticker — all that fluffy fur — there’s still plenty of room for improvement XD

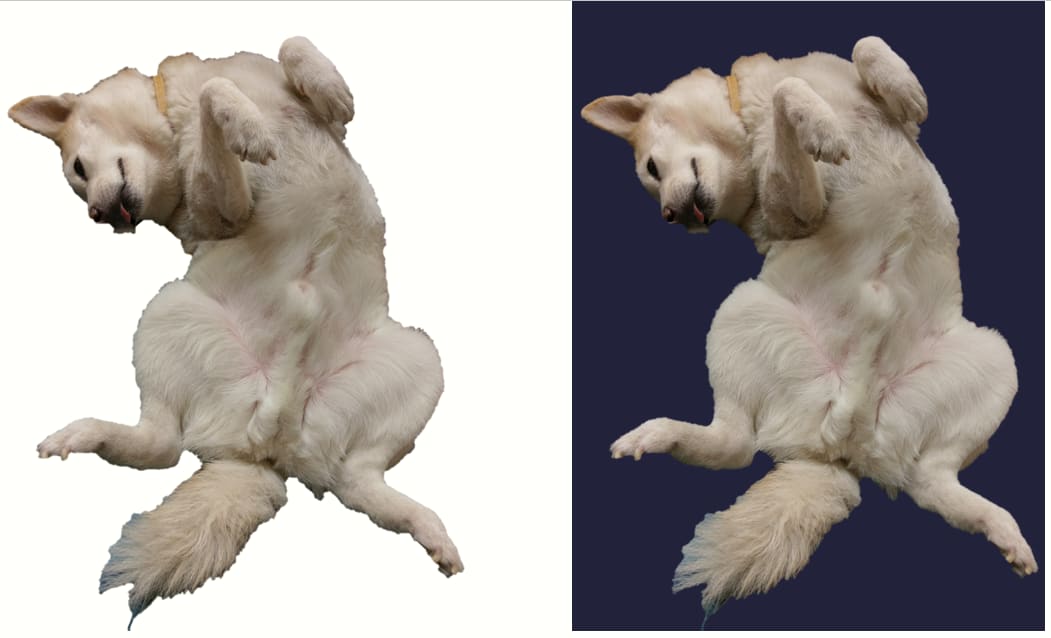
Here’s an example with a more complex background for reference:
As long as the subject has clear enough edges, this works well. Furry subjects are a challenge though XD In those cases, I’d suggest just using a white background or one that matches the original image’s dominant color — it’ll blend in far more naturally. Notice that the left example looks “fuzzier” than the right — that’s because the original image’s background color was closer to what’s on the right.
Wrapping Up
This was a quick guide to removing backgrounds in PowerPoint. It won’t handle highly complex images, but honestly for most simple tasks I’d rather just open PowerPoint — it’s so much faster XD I covered this as a lead-in to the upcoming post on image resources, since background removal comes in handy once you start working with stock images. Trust me — removing the background really does make images look so much better :)
I hope this was helpful! Feel free to leave a comment anytime with questions or to share your thoughts.
Thanks for reading :D
If you enjoyed this post, feel free to click the coffee button in the lower right to support us and give Lottery a can 🐾
Comments